
Ok, so before we begin, I feel as though I must at least mention that upcycling to this extent requires a very specific mindset. This is not, as they say, your grandma's sewing project. It requires strength of will and unwavering determination. You must have #1, a sense of humor about the whole project. You must have extremely flexible expectations, and as mentioned above, an iron will. So, sense of humor, flexible expectations, and an iron will. With those three in mind :), let's begin.
A very dear friend of mine recently handed me a bag full of clothing she had intended to donate to Goodwill, saying, "make awesome baby stuff with this." I was only too happy to comply! When I saw this polo, I immediately had visions of an adorable maternity top or dress.
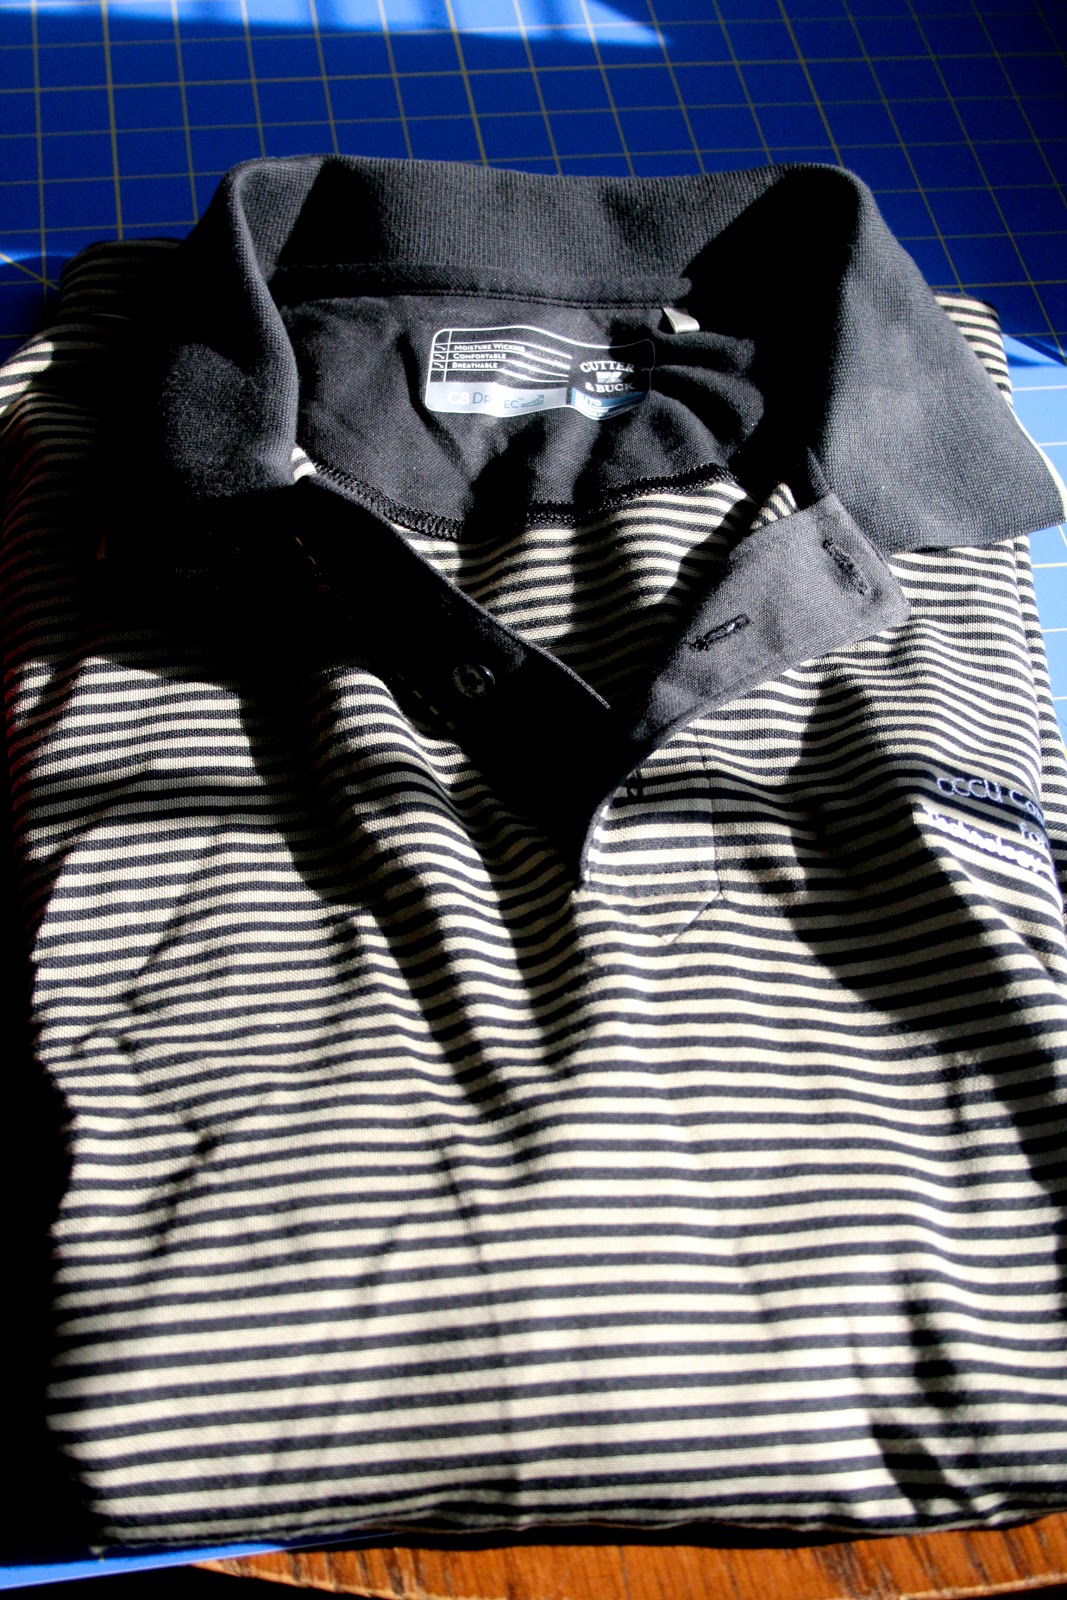
It's a super-soft, medium-to-heavy weight knit, which I adore working with--no need for annoying zippers or buttons!
I started out with pulling out my trusty seam-ripper and scissors and disassembling the whole shirt. This takes much longer than I prefer, but I usually just turn on re-runs of a favorite show and settle in for some serious seam-ripping. Or, as was the case for this shirt, I got bored with seam-ripping about half-way through and just started cutting the pieces apart, as close to the seams as possible. This method is much, much faster, but you do lose the extra quarter-inch of seam allowance, so you have to decide for yourself whether that extra quarter inch is worth it. For me, it wasn't.
Here are all the disassembled pieces, ready to be bent to my will:

Ok, next step. You have pretty much unlimited options at this point. You could simply choose a pattern and do your best to get all your pieces cut out of the odd assortment of scrap shapes, and proceed as usual. Which, I admit fully, is a much easier way to go. But, if you're a rebel like me and rarely use patterns (and if you do, you rarely follow the directions and make all sorts of changes & alterations all along the way), you can do like I will demonstrate below, and make your own pattern as you go:
I grabbed a tank top (anyone else call them wife-beaters? It always sounds so horrifying, but I feel there is a distinct difference between a wife-beater and a tank top. No one else seems to care to differentiate :P, so maybe I should just drop it) that fits well through the top, turned it inside out, and laid it on top of my fabric:

Now that I have pregnancy boobs, and because I am taking into account that the wife beater has more stretch than my knit, I went ahead and added about a quarter-inch to the seam allowances. You can't see well in the photo, but I made the bottom of the bodice end just below the bustline on the shirt. You can obviously do some measuring on yourself and other items of clothing that fit well to give you a good idea of the length of your bodice.
So, I continued in this manner for quite some time, using the wife beater as a reference for the bodice pieces, and just making up the pattern as I went along.

Ok, the above photo (which I debated including) is an example of two things to which I had to apply the sense of humor mindset, and also the flexible expectations. First of all, I accidentally cut the right side of the back bodice piece completely differently than the left (I think it was during a particularly intense scene of the Grey's Anatomy episode I was watching at the time). So, I almost despaired, as obviously material is limited in this project, but decided to laugh at myself and make due. Basically, I cut a piece to fit the gap (and the stripes), sewed it in, and proceeded to trim the new side to accurately match the left side. This may be a deal-breaker for some of you out there, but I swear to you, no one, including you (eventually), will notice something like this once it's finished and you're wearing it, looking all fab. Not my preference, but again, for projects like this, you have to relax those expectations!
The second issue I had to accept was that I expected to have enough material to make both the bodice and bodice lining out of the same material, but, no such luck. Fortunately, upon a subsequent dig into the bag o' clothes, I found a similarly-weighted black t-shirt that ended up working beautifully as lining.
So, here are all my pieces, cut out and ready to be sewn together! You're halfway done at this point--in projects like this, the cutting out part is always half the battle.

Ooh! Also, as I went along, I realized this was becoming a vintage-inspired dress in its shape and style, so I delightedly began rooting through a collection of beautiful vintage buttons my wonderful Grandma had recently given me. I choose these lovely little sea-green numbers.

They make me happy :).
Ok, so for the rest of this tutorial, I decided to simply display a few photos of the process of piecing this dress together, as I want this tutorial to remain as open-ended as possible, so, I apologize if anyone is frustrated or disappointed with my lack of explanation of how I did this or that. Feel free to ask me about any aspect of this process if you have questions--I'd be glad to share!
I always begin with constructing the bodice, as this, to me, is the most defining portion of a dress. Your waistband can be adjustable, your skirt can be gathered or fitted, but your bodice has to fit and fit well. But maybe that's just me :).
Here's the assembled bodice front. I used some extra fabric scraps to add some detail and interest. Again, if you have questions on how I did this, please feel free to ask! Also notice the embroidered business name there on the right. Yeah, totally didn't even notice this shirt had the business name embroidered on it until I started cutting out my pieces! I find it hilarious, and personally think it adds some fun and whimsy to the whole dress, myself :).

Here's the back bodice, all assembled and ready:

(Still giggling about the slightly deformed armhole...)
Ok, and here now is my (terrible) photo of me trying on the finished bodice:

Success! It fits perfectly!
Now, I'm going to skip about 4 steps and just show you the finished top of the dress, complete with sleeves and waistband/sash:

From here on out, it's smooth sailing. I constructed the waistband and added the skirt pieces, and voila! A fun, finished maternity dress:

Woohoo! I love it--now wasn't that a fun adventure?? Sorry to any of you whose left eyelid now has a permanent twitch :), but I love the open-ended, unlimited-ness of this type of project. Fits my personality perfectly ;).
Now get down with your fab self and model your new dress!


And then get silly, because modeling is NOT your forte!

Oh, and then turn to the side and reveal that 17 wks preggy belly!

Woohoo!
(Sewing is such a high!)
Ok, there you go--my first tutorial. Thanks for reading, and again, please feel free to ask any questions you have on my processes and procedures ;).
Thanks again!
Luvinthemommyhood featured you, and I loved your pic, so I popped over. This is a darling dress, and so are you!
ReplyDeletethanks for your comment! You're most welcome! I loved the tute and you are one cute preggers! Can't wait to see what else you whip up :)
ReplyDeleteSuch a cute dress! Very tempted to have a go at something similar (even thought my sewing skills are a bit cruddy...)
ReplyDeleteThis is so adorable! I would love to feature this on Reduce, Reuse, Upcycle. Feel free to stop by and grab a featured button. Thanks!
ReplyDeletehttp://reuseandupcycle.blogspot.com
Found your blog through Reduce, reuse, Upcycle and just had to stop by and see for myself. Lovely dress. Wonderful job.
ReplyDeleteFound you over at Reuse Recycle and I am glad I did. What a cute up-cycle. I love it!
ReplyDeleteYou are too cute! This pattern is awesome.
ReplyDeleteI'm so inspired! Thanks for the great tutorial and idea of using a polo!!
ReplyDeleteI am still amazed. That shirt fits him so well. What a great way to waste not, want not. Thanks for sharing.
ReplyDeleteCheap Polo Shirts For Men